How to fix the tip of the bathtub

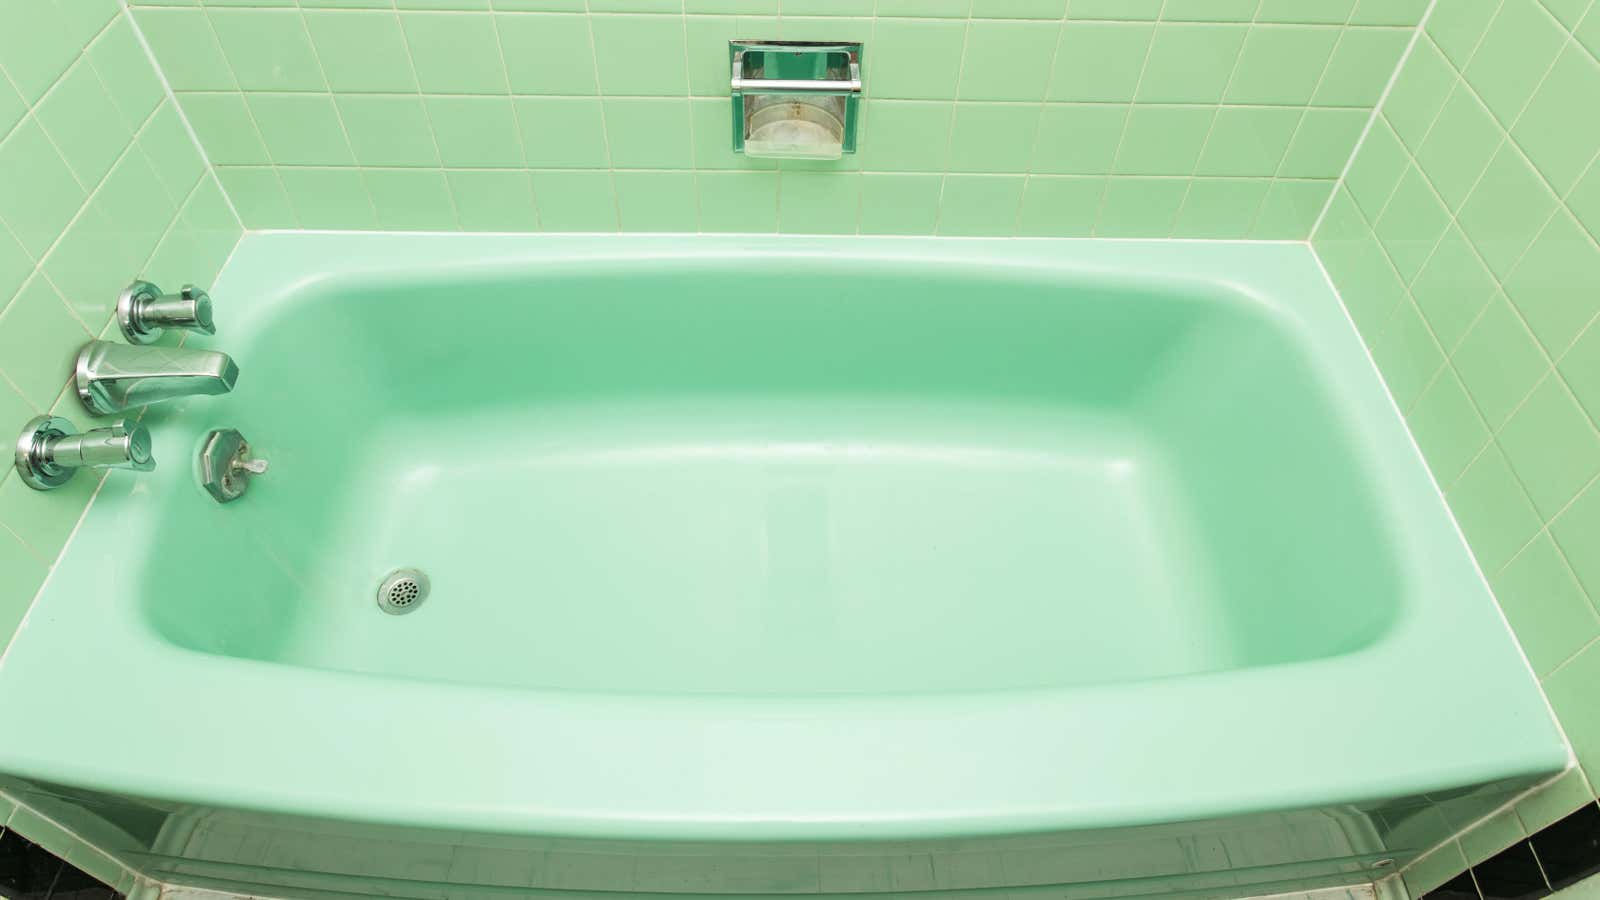
Whether you have a one-century-old free-standing clawfoot model, a colorful mid-century drop-in, or something more modern, the bathtub probably occupies a significant part of the bathroom.Even if you don’t Take a bath regularly (In that case, Why not?), You are still spending a lot of time near it.
But over time, your tub may be missing in more than one place. Not only does it feel grainy to the touch, but if left unattended for long periods of time, the tip may become large and serious. Fortunately, fixing the tip to the tub is something you can do yourself. Here’s what you need to know:
How to fix the tip to the bathtub
It is possible to secure the tip to the tub, but it should also be noted that in terms of color, luster, or both, it probably won’t exactly match the rest of the tub. However, it looks better and, most importantly, makes the bathtub safer and more comfortable to use. Method is as follows.
Find the right repair kit
If you want to repair the missing tub yourself, the best bet 2 compound epoxy kit With catalyst and hardener. If you know what your tub is made of (ie porcelain, fiberglass, plastic, etc.), you can get a kit that is specific to that material. Or you can get the ones for different materials. Also, find the kit that most closely matches the color of the bathtub.
Clean the area
Because the epoxy sticks to the bathtub The area needs to be cleaned— No keratin, soap scum, or other accumulated ganks.Start by scrubbing the spot with a cleanser such as dishwashing liquid or detergent, a degreaser, or something with a little gravel like Bar K.Deeper■ Friends.Follow it up by wiping the area with Rubbing alcohol or acetone Remove any remaining residue. At the end, Lint-free cloth..
Mix epoxy
Follow the instructions in the repair kit to mix the epoxy compound. If your kit does not come with a disposable tray and mixing tools, use something that will not spoil (paperboard, plastic disposable plates, etc.).The kit may contain enough of each compound Make multiple repairsDo not use all at once.
Apply epoxy
First, use painter’s tape to cut out the area to be repaired.So Apply a thin layer Use a plastic knife or paintbrush to tip. Spread on one side instead of both so that the epoxy evenly covers the chip.
Dry that layer
generally, 3 hours and 5 hours Allow the epoxy layer to dry, but if possible, leave it for 24 hours to make sure it has cured. After it dries, the epoxy should be as hard as the tub itself.
Sandwich the spot
Now that the tip is filled and the epoxy is dry, it’s time to smooth it. First, spray water on the area, then Ultra-fine sandpaper with tapered edges Repair so that it mixes with the rest of the tub. Wet both the tub and sandpaper while working. When you’re done, determine if your chip needs another layer of epoxy. In that case, repeat the above steps.
How to fix the tip of the bathtub
Source link How to fix the tip of the bathtub

